Patio Revamp

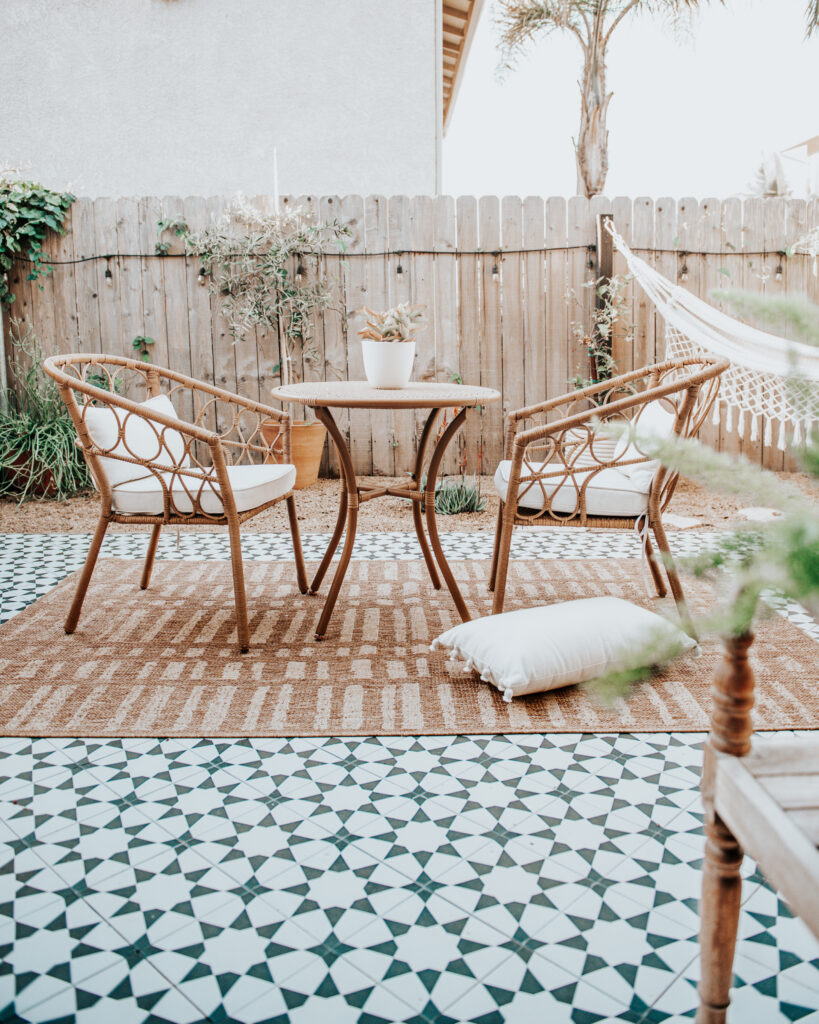
Our first project that we completed when we started Honey & Home Designs was our patio. When we first moved into our condo we realized we would have a small space to work with out here and we knew we wanted to make the most of this outside area.
We started out by clearing out everything we no longer needed. There was a giant bush out here that was dying slowly and had a rat living in it. Yep – you read that right! We cleared the thorn bush out and immediately it opened up more space to have an herb wall that we always wanted! We also removed other plants that were left by the previous owner and old furniture.
Next we wanted to work on brightening the space and we decided to power wash our fence to give it a fresh look! We bought a simple power washer from Home Depot and it immediately made a difference and lightened up the whole area. We also decided that the mulch was darkening the area and we removed it and replaced it with some pea gravel.
Tip: We recommend checking out your local landscaping company to see if they have a yard that you are able to purchase and pick up material from! This was a huge cost savings for us because instead of paying for a company to bring a large truck of material and paying for labor, we bought 12 large buckets and were able to shovel the material ourselves. We brought the buckets back and spread it over where our mulch used to be and voila!
Our biggest challenge with our backyard was without a doubt our concrete patio. There were large cracks in it and we had to clear them, fill them with backerrod first and then use an epoxy to seal in the cracks as best as possible. After this we realized that the concrete wasn’t level and we needed a smooth level surface for our favorite feature – patterned Italian tile from Lowe’s that we found for 1.25 sq ft at the clearance section! We knew we wanted to tile over the concrete so we had to use self-leveler first. This was an involved process but was very effective!
Once the self-leveler was dry we were able to start planning out our tiles which we decided to install in a diagonal pattern. We worked our way from one corner to the other and used mortar to apply the porcelain tile. After days of tiling we finally got to grouting using a black grout and sealing it afterwards.
Some final touches included added some outdoor plants and an olive tree and setting up new patio furniture!
 One Room Challenge: Main Bedroom